

Find the Lowest Door Installation Cost Without Skipping Critical Work
The cheapest door installation is usually the one with the fewest surprises. Get at least three itemized quotes, choose the right door type for the existing opening, and confirm whether the price includes removal, framing repair, hardware, permits, and exterior waterproofing.
For a Florida entry door, do not cut costs on the details that stop leaks and wind damage: a properly sized rough opening, sill pan, flashing, structural fasteners, and weatherstripping. A low bid that leaves out these steps can become the most expensive option if water reaches the subfloor or frame.
You can often lower the total by measuring before shopping, selecting a standard-size unit, scheduling replacement before visible rot spreads, and comparing labor separately from the door itself. For hurricane-rated doors, also ask whether the quote includes the required approved installation method for your area.
This guide explains where door replacement costs come from, which work is safe to simplify, and where saving a few dollars can risk your home’s comfort, curb appeal, and long-term protection.
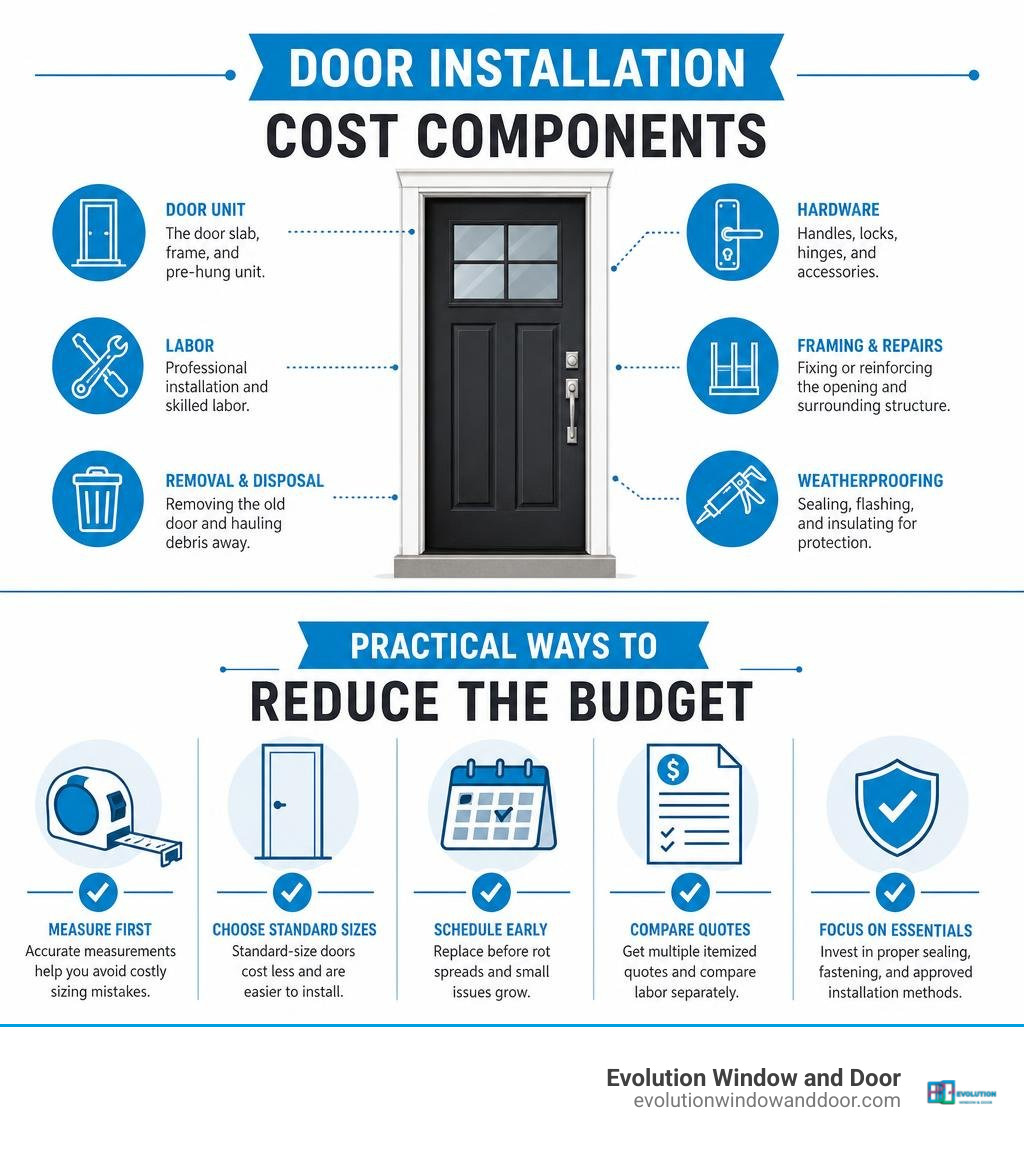
Key Factors Influencing Professional Door Installation Costs
Understanding pricing variables helps you identify where you can trim your budget without compromising craftsmanship. Labor costs fluctuate depending on framing complexity, wall assembly types (such as standard wood studs versus concrete block masonry), and whether custom structural modifications are needed.
When evaluating quotes for Interior & Exterior Doors, compare the specifications of each door system:
| Door System Type | Typical Scope & Preparation | Primary Cost Drivers | Key Structural Requirements |
|---|---|---|---|
| Interior Slab Door | Trimming slab to fit existing frame, routing hinge mortises, boring latch holes | Precision carpentry labor, custom hardware alignment | Sound, plumb existing frame with square reveals |
| Interior Split-Jamb Prehung | Fastening interlocking jamb halves, casing integration | Fast framing attachment, trim casing included | Level subfloor, plumb rough opening (+/- 1/8″) |
| Exterior Flat Jamb Prehung | Removing old frame, leveling sill, structural shimming, sealing | Waterproofing, heavy frame anchoring, foam air seal | Solid king/trimmer studs, continuous sill support |
| Exterior Impact-Rated Entry | Masonry buck anchoring, deep screw embedding, hurricane flashing | Florida Building Code compliance, heavy lifting, testing seals | Engineered rough opening, Tapcon/structural fasteners |
Material and Structural Requirements for Slabs and Prehung Units
A common choice is deciding between a replacement slab (blank door panel) and a prehung assembly (slab hinged inside a complete frame). Installing a slab requires hand-routing hinge mortises, chiseling latch plates, and beveling the door edge so it clears the frame without rubbing. If your existing frame is out of square or suffers from moisture damage, fitting a new slab becomes labor-intensive.
Prehung doors solve this by supplying factory-aligned frames. They generally come in two styles:
- One-piece flat jambs: Rigid single-piece frames best suited for exterior applications or premium interior installations where casing is nailed separately.
- Two-piece split jambs: Interlocking frame assemblies with pre-attached casing that slide together from opposite sides of the wall, speeding up interior installations in standard drywall openings.
If you are outfitting smaller interior spaces, reviewing The Ultimate Buyer’s Guide to 24 x 78 Interior Doors helps clarify sizing clearances before purchasing materials.
Estimating Interior vs. Exterior Door Installation Expenses
Exterior openings require substantial weatherproofing, structural anchoring, and thermal isolation that interior doors do not need. Adding wider entry profiles—such as Upgrading to a 42-Inch Wide Exterior Door for Better Curb Appeal—or integrating glass transoms and sidelites requires reinforced framing headers and precise load calculations.
Understanding How Doors and Windows Work Together for Energy Efficiency is essential for controlling cooling bills. Exterior installations demand continuous air seals, insulated cores, and weatherstripping to prevent thermal bypass and moisture intrusion.
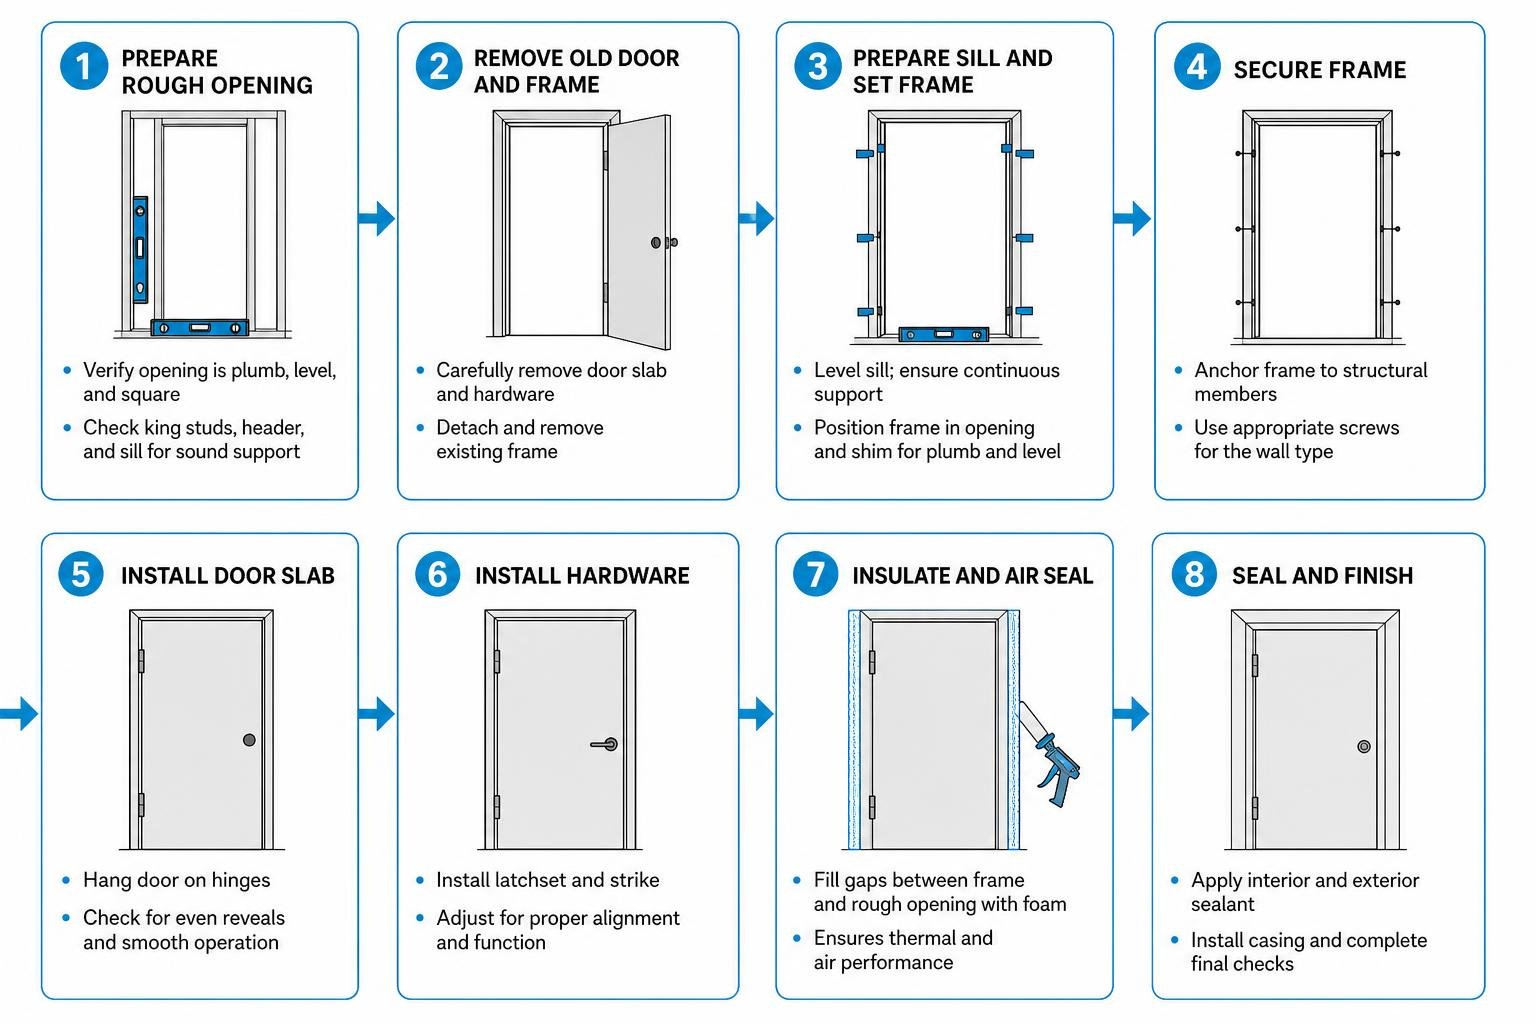
Cost-Effective Ways to Source and Prepare for Door Replacement
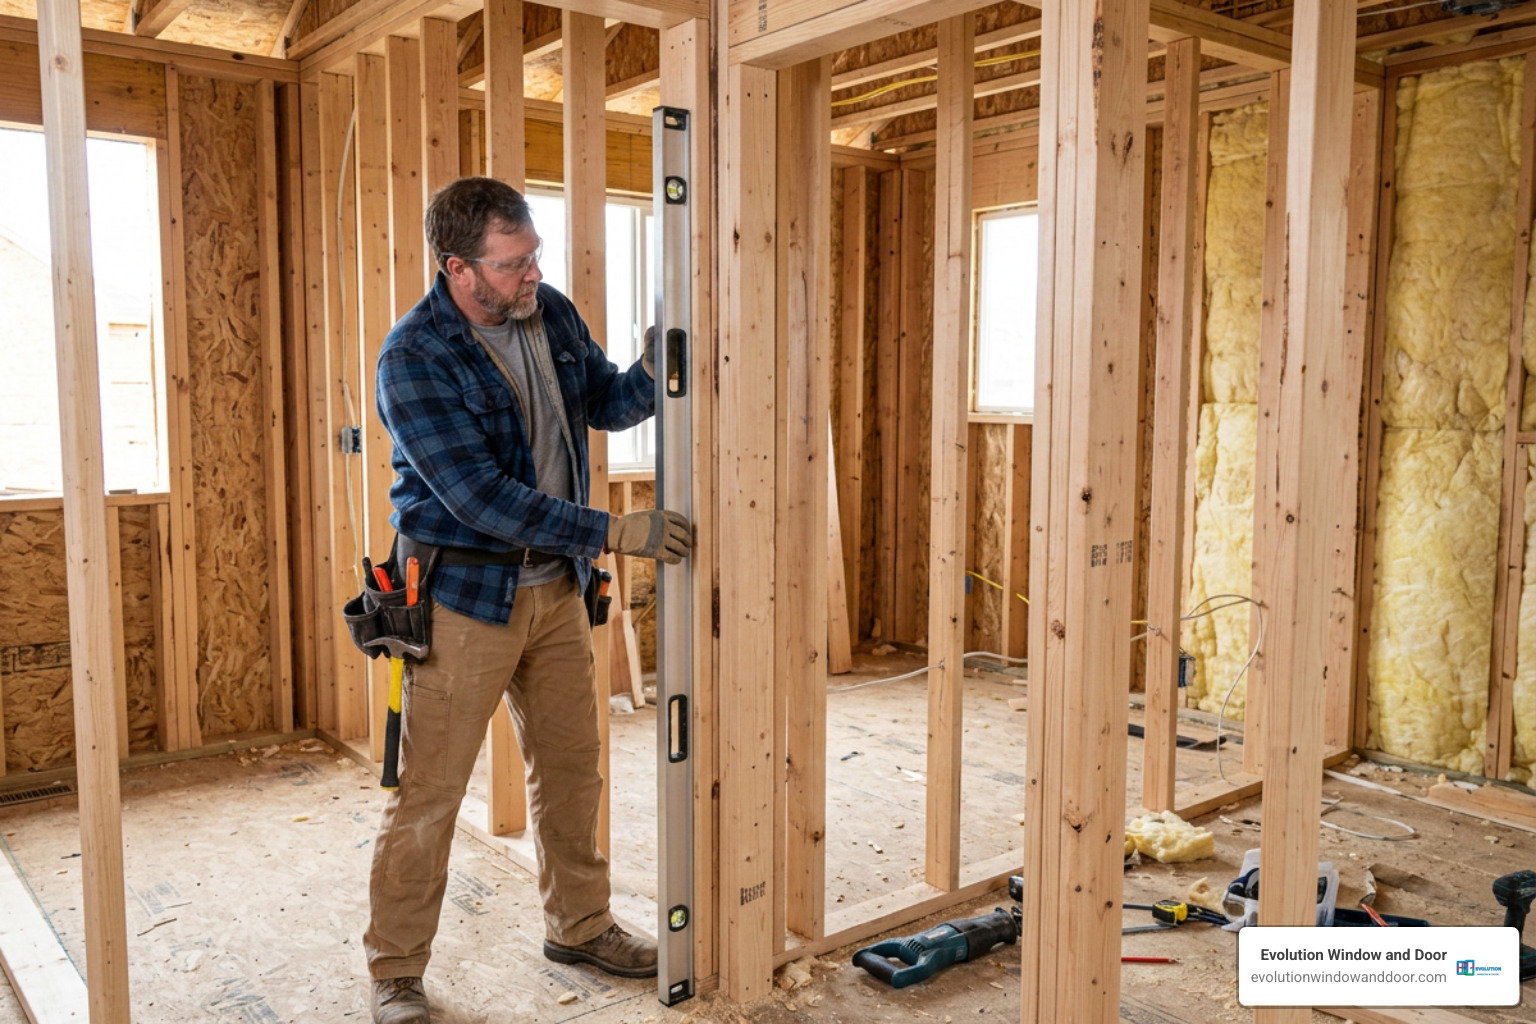
The most practical way to lower labor costs is to eliminate prep-work surprises. Spotting trouble early—such as identifying the Signs It’s Time to Replace Your Doors or Windows before rot damages adjacent wall studs—keeps framing repairs minimal.
Accurate Sizing and Rough Opening Preparation
Accurate measurements prevent costly re-orders and delays. The rough opening (RO) is the framed stud opening before the door jamb is set:
- Interior prehung doors: The rough opening should measure 1/2″ wider and 1/2″ taller than the outer dimensions of the door frame.
- Exterior prehung doors: Major manufacturers specify that the rough opening must be a minimum of 3/4″ wider and 3/4″ taller than the outer unit dimensions (typically 2″ wider and 2-1/2″ taller than the slab size).
Before setting the unit, verify structural tolerances with a 4-foot level:
- Squareness: Measure diagonals from corner to corner. The maximum allowable diagonal deviation is 1/4″.
- Plumb and Level: Side trimmer studs and the header must not deviate by more than 1/8″ across the opening.
- Sill Plane: The sill must be flat with zero crowning or sagging, and plane twist corner-to-corner must be under 1/8″.
For precise specifications on weather barriers and frame tolerances, consult a standard architectural swing door installation manual.
Pre-Installation Tear-Out and Framing Inspection
During tear-out, remove the existing slab, pry off interior casing, cut through perimeter nails with an oscillating saw, and remove the old jambs. Inspect the subfloor and king/trimmer studs for hidden moisture damage. For homes built before 1979, follow EPA Lead-Safe containment practices when disturbing painted surfaces.
In Southwest Florida masonry construction, verify the condition of the pressure-treated wood bucks attached to the concrete block (CMU). Replace split or rotted bucks and re-anchor them using code-compliant masonry fasteners before placing the new unit.
Practical Ways to Save on Labor and Materials

Careful planning keeps door replacement projects on budget without sacrificing build quality.
DIY vs Professional Door Installation Savings
Hanging heavy exterior or solid-core doors is demanding work. Solid slabs can weigh over 100 lbs, making alignment and squaring tricky for a single person. While mobilization tools like the Door Stud Pro Series support up to 300 lbs on slabs up to 1-3/4″ thick for solo handling, exterior units generally require two people to safely maneuver, shim, and fasten the assembly without damaging framing or finishes.
Before starting, confirm your door swing: stand facing the door from the side where the hinges are not visible (or the exterior side for an entry door). If the door swings inward to your right, it is a right-hand swing; if to the left, it is a left-hand swing. Reviewing technical instructions for interior prehung doors will help guide hinge alignment and basic fastening patterns.
Managing Waterproofing, Weatherstripping, and Hardware Costs
Cutting corners on weatherproofing leads to costly repairs down the road. Keep these practices in mind:
- ASTM E2112 Sill Pans: Install a sloped rigid sill pan with an interior 1/2″ upturn dam and 2″ exterior downleg. Set it over three separate 3/8″ beads of exterior sealant. Leave 2″ gaps in the exterior front sealant bead so trapped water can weep out freely.
- Drip Caps: Install a rigid metal drip cap over the exterior head jamb, extending 1/8″ beyond the brickmould ends, integrated under the weather-resistive barrier (WRB).
- Low-Expansion Foam: Insulate the 1/2″ to 3/8″ perimeter cavity between the frame and studs using closed-cell, low-expansion polyurethane window and door foam. Avoid standard expanding foam, which exerts enough force to bow jambs out of alignment.
- Hardware and Hinge Anchoring: Replace top hinge and deadbolt strike screws with #9 x 2-1/2″ or 3″ exterior-grade screws driven deep into the wall framing. This prevents door sag and strengthens security.
- Threshold Calibration: Test the bottom sweep with the “paper pull test.” Slide a sheet of paper between the door bottom and threshold cap. If it pulls out with no resistance, raise the sill cap adjustment screws clockwise in half-turn increments until light tension is achieved (up to a maximum height adjustment of 1/4″).
Finally, maintain warranty coverage by finishing all six sides of wood or smooth fiberglass slabs (front, back, top, bottom, and both edges) with exterior-grade paint or UV-resistant sealers within the manufacturer’s specified timeframe.
Frequently Asked Questions About Entry and Interior Door Pricing
How much can I save by installing a door slab instead of a prehung unit?
Purchasing a door slab is generally less expensive upfront than buying a full prehung unit. However, fitting a slab into an old frame requires mortising hinges, drilling lockset bores, and beveling edges. If the existing frame is warped, the added labor time often offsets the material savings. A prehung unit provides a matched frame, weatherstripping, and pre-drilled hinge locations, making installation faster and more predictable.
What unexpected structural issues most frequently drive up door project expenses?
The most common unexpected expenses are subfloor rot beneath the threshold, deteriorated wood bucks in concrete block openings, and out-of-plumb rough openings. Correcting these issues requires rebuilding framing members, leveling concrete subfloors, and patching surrounding drywall or stucco before the new frame can be fastened.
Does investing in high-grade flashing and sill pans reduce long-term ownership costs?
Yes. A sloped sill pan meeting ASTM E2112 standards channels wind-driven water directly outside before it can reach your subfloor or framing. Replacing moisture-damaged structural flooring can cost thousands of dollars, making proper flashing and sill protection one of the smartest long-term investments in your home.
Conclusion
Finding affordable ways to handle your next door project is about choosing smart shortcuts—like measuring accurately, selecting standardized prehung units, and catching framing issues early—while never skipping essential flashing, low-expansion insulation, or structural fasteners.
If you are planning an upgrade in Southwest Florida, Evolution Window & Door provides clear, pressure-free guidance, helping you select durable, energy-efficient entry systems designed to protect your home for years to come.

