

Finding the Right 34-Inch Storm Door
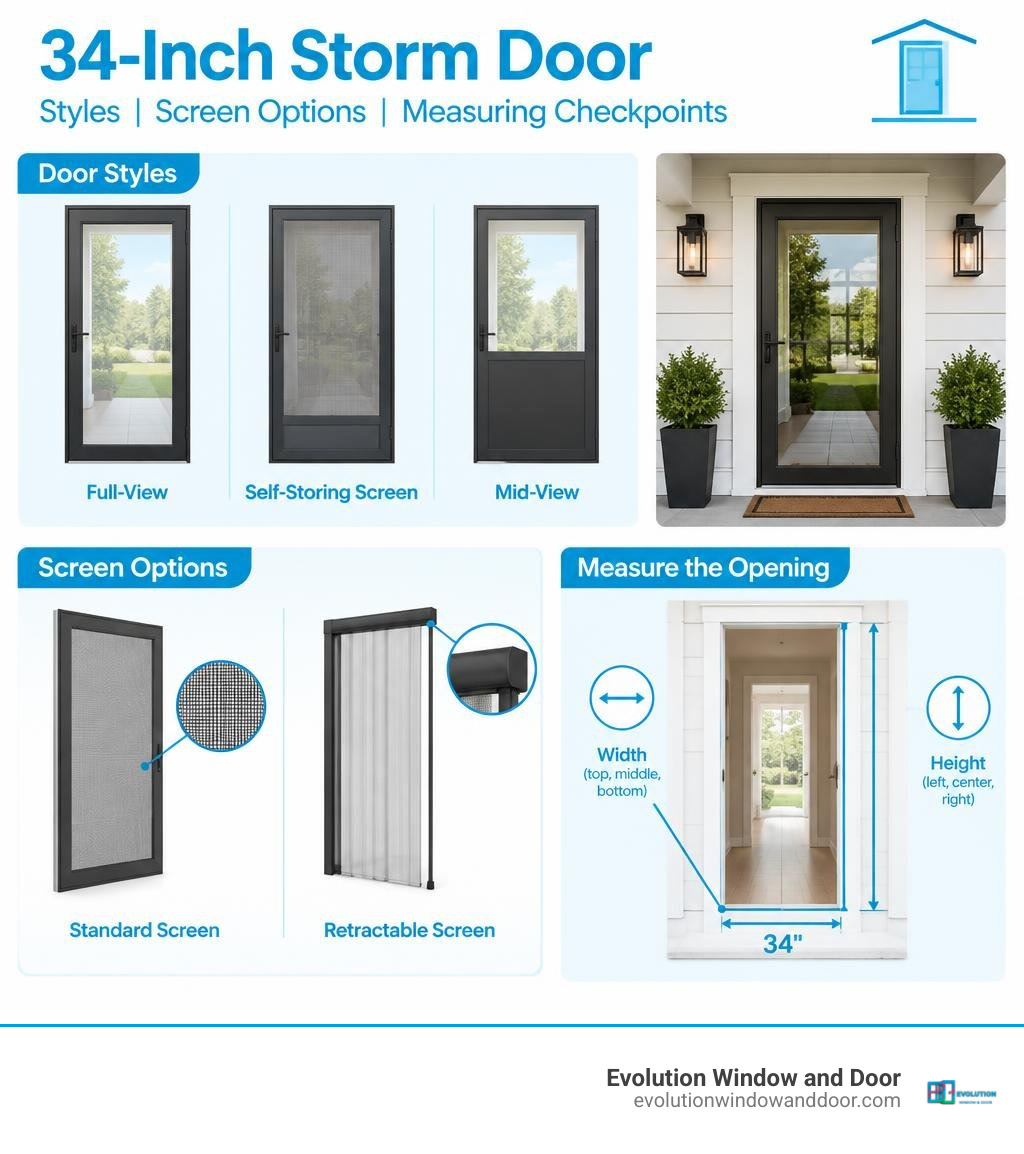
You have options for a 34-inch storm door. Choose a full-view model for more light, a self-storing or retractable-screen model for easy airflow, or a mid-view model for more coverage. Before you buy, measure the mounting opening in three places and check the height. A 34-by-80-inch residential door and a 34-by-78-inch mobile home door are not interchangeable.
A good fit helps limit drafts and keeps the door working smoothly. In Florida, don’t assume a storm door is hurricane-rated: check the model’s approval for your location if impact protection is your goal. This guide will help you compare styles, confirm the fit, and plan the installation.
Understanding Dimensions and Sizing for a 34 Storm Door
When shopping for exterior fixtures, most homeowners run into 32-inch and 36-inch widths lined up by the dozen. Discovering that your entry frame measures exactly 34 inches can feel like finding out your shoe size only exists in boutique storefronts. Understanding how doorway dimensions evolve across building eras and structural types takes the mystery out of sourcing the right fit.
Sizing Standards: Why Choose a 34 Storm Door?
Standard residential architecture across North America largely settled on 32-inch secondary entrances and 36-inch main front entries decades ago. Because of this, a 34 storm door is frequently classified by major manufacturers as a non-standard or semi-custom dimension.
Curiously, regional framing quirks tell a different story. In older Midwestern housing stock, this width was so ubiquitous that trade contractors still refer to 34-inch units colloquially as “Chicago doors.” While you can occasionally find them on retail shelves in specific historical markets, shopping for a 34-inch model elsewhere often introduces added manufacturing surcharges or freight lead times. For example, a basic full-view model that retails for around $298 in standard 32-inch or 36-inch widths can see up to an added $280 manufacturer custom fee when adjusted to 34 inches, depending on the brand line.
Working with a knowledgeable local provider who stocks factory-supported 34-inch sizing can help you avoid paying custom order premiums altogether.
| Door Classification | Standard Dimensions (W x H) | Common Structural Applications | Typical Retail Price Range |
|---|---|---|---|
| Standard Narrow | 32″ x 80″ / 81″ | Side doors, back patio entries, utility entries | $150 – $350 |
| 34-Inch Residential | 34″ x 80″ / 81″ | Mid-century homes, custom masonry entries, older stock | $219 – $496 |
| 34-Inch Manufactured | 34″ x 78″ | Mobile homes, modular housing, out-swing cottages | $450 – $490 |
| Standard Wide | 36″ x 80″ / 81″ | Primary front entries, modern residential builds | $180 – $400 |
Residential vs Mobile Home Sizing Variations
Never order a storm door by width alone. A standard residential entry opening typically requires an 80-inch or 81-inch vertical height. In contrast, manufactured housing and mobile homes commonly utilize a 34″ x 78″ rough opening.
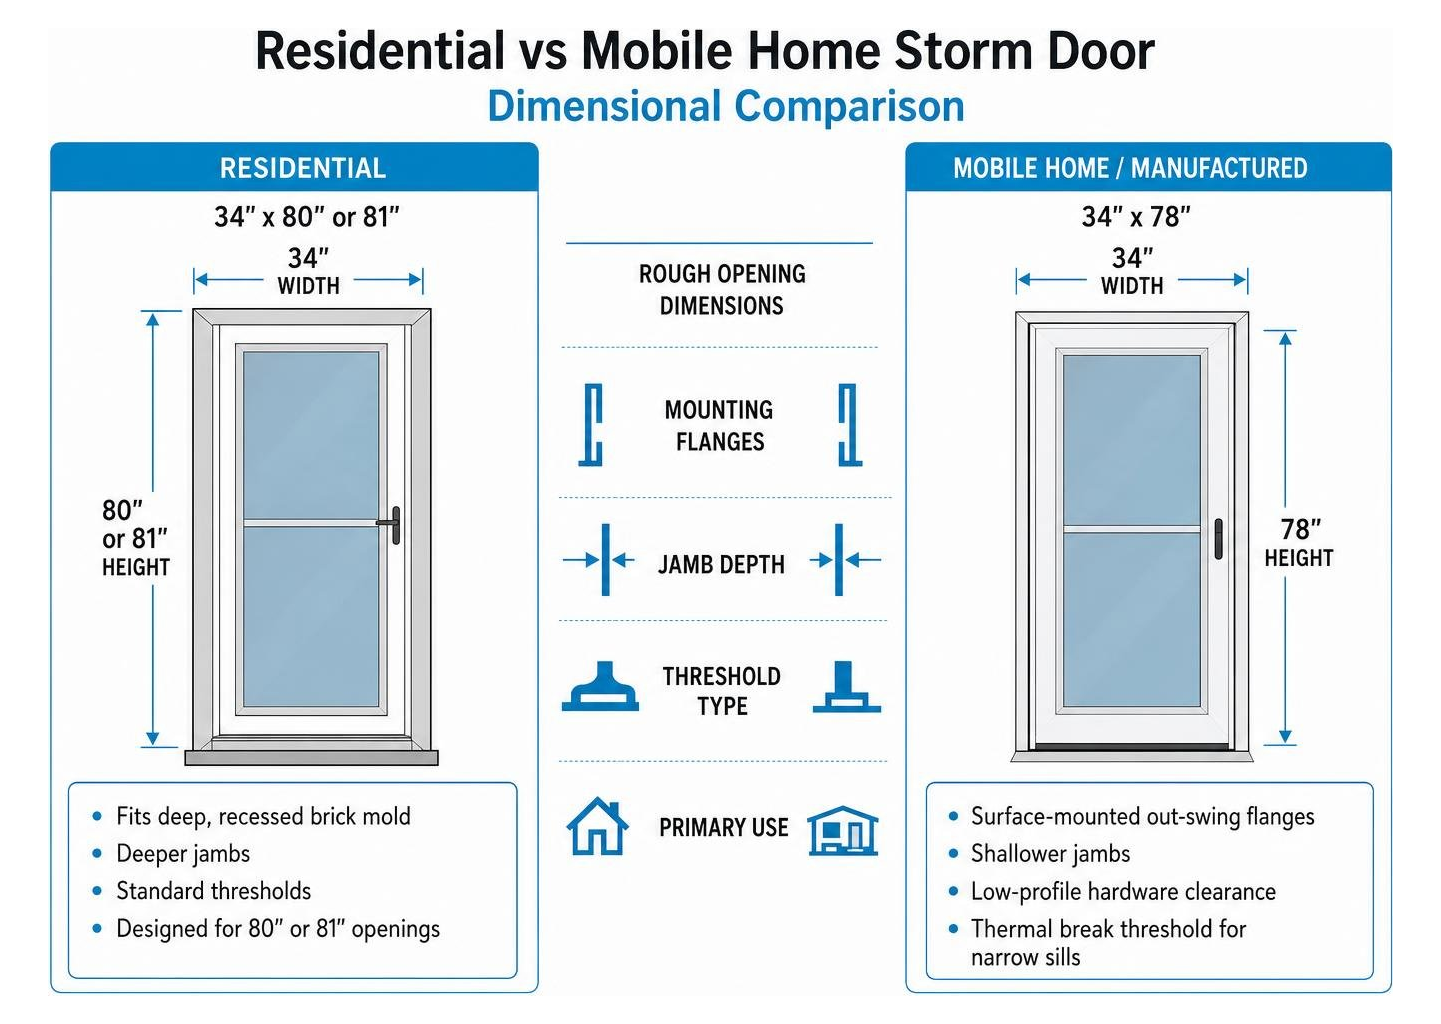
Beyond vertical height, structural mountings differ significantly:
- Mounting Flanges: Mobile home doors often employ surface-mounted exterior out-swing mounting flanges secured directly over the exterior siding rather than fitting into a deep, recessed brick mold.
- Jamb Depth: Manufactured homes feature shallower wall cavities, requiring low-profile hardware so latch assemblies do not interfere with the primary interior door.
- Core Framing: Pre-hung manufactured combo units frequently integrate specialized thermal break thresholds to handle condensation along narrow aluminum sills.
Comparing Styles, Materials, and Key Features
A storm door does not just guard your entryway against driving rain and coastal winds; it regulates indoor daylight, lets in cross-breezes, and adds a layer of physical security.
View Styles and Screen Ventilation Mechanisms
Choosing a style comes down to balancing how much sunlight you want with how easily you want to let fresh air into your home.
- Full-View Interchangeable Doors: These models feature an expansive pane of glass held within a rigid perimeter frame, maximizing natural light and curb appeal. A full-view interchangeable aluminum storm door allows you to swap the entire tempered glass insert with a full-length insect screen when the seasons change.
- Self-Storing Glass Doors: For daily convenience without storing loose panels in the garage, self-storing models feature window panels that slide open along internal tracks to let fresh air flow on demand.
- Retractable Hidden Screens: If you want an unobstructed view without losing immediate airflow, retractable designs roll the screen into a concealed top cassette. A one-handed downward glide switches the setup from sealed glass to fresh ventilation.
- Mid-View / Partial-Light Doors: Featuring a solid lower kick plate (typically 1/4 to 1/3 of the bottom), mid-view styles protect the glass from foot scuffs, lawn debris, and excited pets. Options like a 3/4-light vinyl storm door or specialized 34″ x 78″ wood-core models offer extra durability in busy entryways.
Material Construction and Long-Term Durability
The raw materials inside your door frame dictate how well it stands up to UV rays, salt air, humidity, and constant daily use.
| Material Type | Structural Durability | Weather & Moisture Resistance | Weight Profile | Maintenance Needs |
|---|---|---|---|---|
| Extruded Aluminum | Exceptionally high; resists denting and sagging | Impervious to rust and rot; ideal for coastal zones | Moderate | Very low; occasional wipe-downs |
| Insulated Wood Core | Sturdy, dense tactile feel; sound dampening | Protected by outer cladding; vulnerable if breached | Heavy | Low to moderate; seal checks |
| Solid Vinyl / PVC | Flexible; budget-friendly resilience | Waterproof; will not rust, peel, or rot | Lightweight | Minimal; basic washdowns |
| Fiberglass Composite | High tensile strength; resists impacts | Excellent resistance to salt air, heat, and rot | Moderate | Very low; paintable surfaces |
Solid wood-core doors wrapped in protective aluminum or vinyl cladding provide a substantial closing feel at accessible price points. However, for homes exposed to intense weather, heavy-gauge 1″ to 1-1/2″ extruded aluminum frames reinforced with corner gussets offer superior rigidity and longevity.
Hardware, Security, and Weatherproofing Components
A quality storm door setup relies on durable supporting hardware:
- Locking Mechanisms: Look for built-in, forged steel keyed deadbolts paired with heavy-duty interior night latches. This provides secondary entry defense without requiring an unsightly padlock hasp.
- Hands-Free Closers: Foot-activated step closers let you tap a bottom button with your toe to hold the door open when carrying groceries—saving you from awkwardly propping the door open with your knee.
- Perimeter Weatherstripping: Dual-fin rubber or dense brush weatherstripping cushions door closure while locking out drafts, wind-blown rain, and bugs.
- Adjustable Expanders: Metal sweep expanders installed along the bottom rail contain flexible vinyl fins that adjust to uneven, sloped thresholds for a tight seal. Matching your storm unit with properly configured doors keeps the entire entryway secure, quiet, and well insulated.
Step-by-Step Measuring and Installation Guide
Careful preparation is the difference between a door that clicks shut effortlessly and one that squeaks, binds, or leaks drafts every time the wind picks up.
How to Measure Rough Openings for a 34 Storm Door
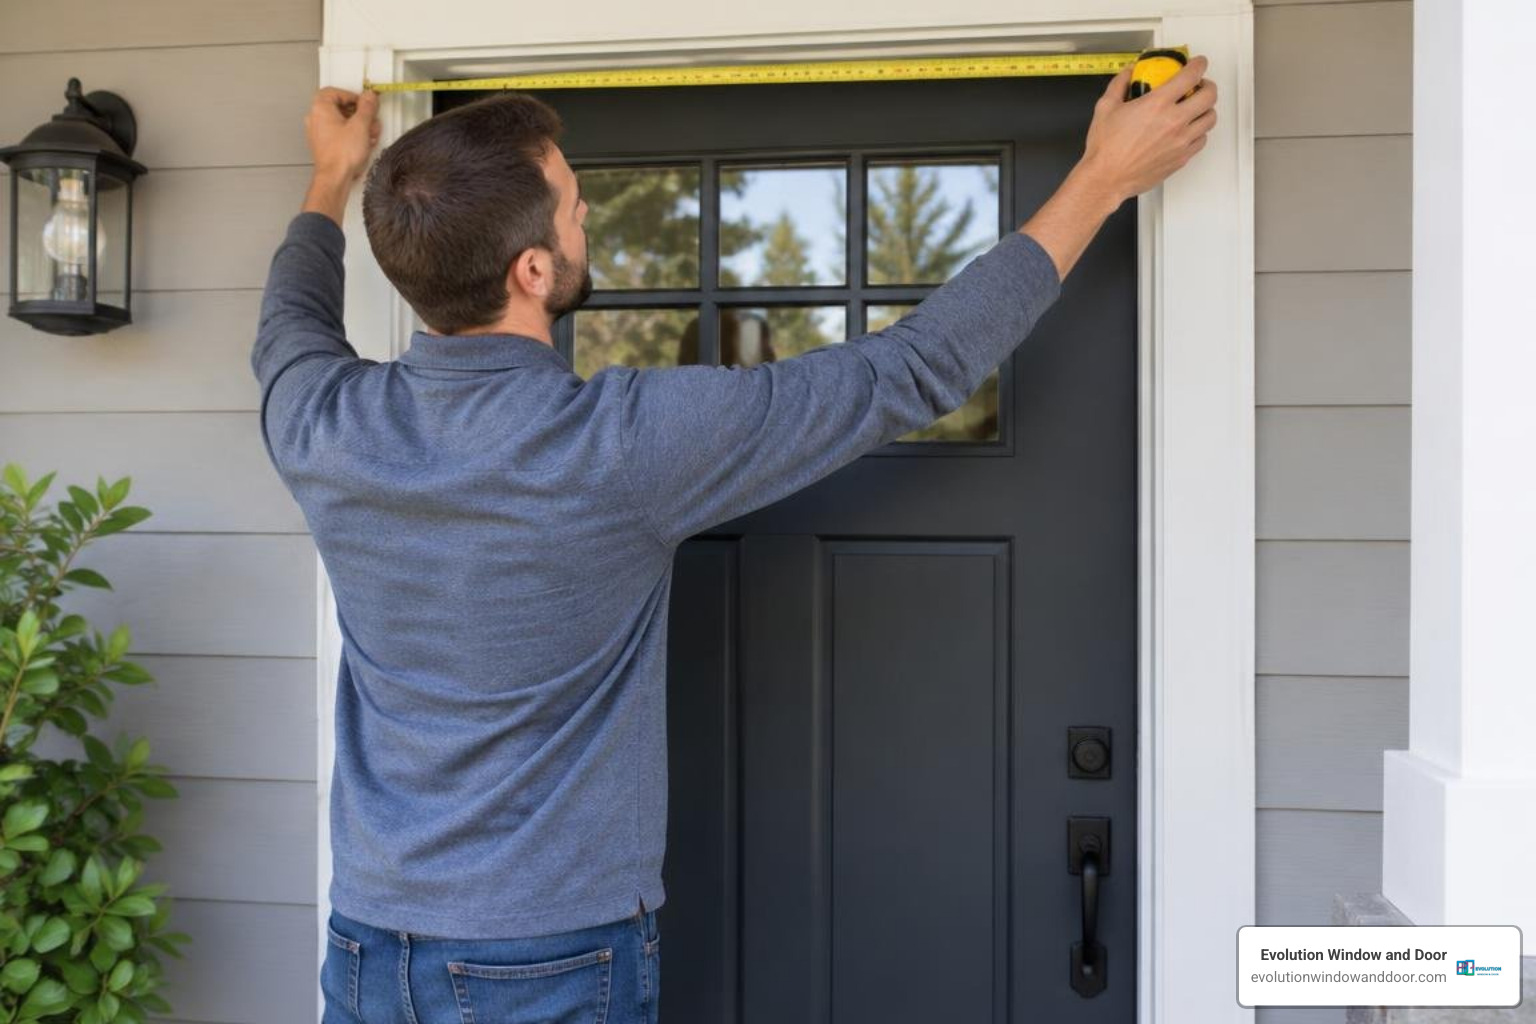
Before ordering, verify that your existing exterior brick mold or trim casing can accommodate the mounting z-bars.
- Check Width in Three Spots: Hook your tape measure inside the outer face casing where the storm door mounting rails will fasten. Measure horizontally across the top, middle, and bottom of the frame. For a 34-inch door, the opening width should read between 33-7/8″ and 34-3/8″. Use the smallest of the three numbers.
- Check Height on Left and Right: Measure vertically from the top underside of the header trim straight down to the exterior sill threshold on both the left and right sides. Standard residential frames require 80″ to 81″ of clearance.
- Verify Jamb Depth: Ensure you have at least 1″ of flat mounting surface depth on the brick mold trim casing. Confirm that projecting doorknobs or deadbolt cylinders on your main entry door will not collide with the storm door glass panel.
- Inspect Sill Slope and Squareness: Place a 2-foot level against the sill and side jambs. If the sill is slightly sloped or uneven, an adjustable bottom expander can bridge small gaps.
Determining Door Handing and Swing Direction
Door handing indicates which side holds the hinges when viewing the home from the outside:
- Left-Hand Outswing (LH): The exterior hinge rail mounts on your left side; the handle is on your right.
- Right-Hand Outswing (RH): The hinge rail mounts on your right side; the handle is on your left.
- Universal / Reversible Handing: Many contemporary models use symmetrical frame profiles, allowing you to mount the hinge rail on either side during assembly.
Rule of Thumb: Match the storm door hinge orientation to your interior primary entry door. Having both doors hinge on the same side lets you walk through the doorway in a smooth, single motion instead of getting boxed in between two opposing swinging panels.
Installation Steps and Required Tools
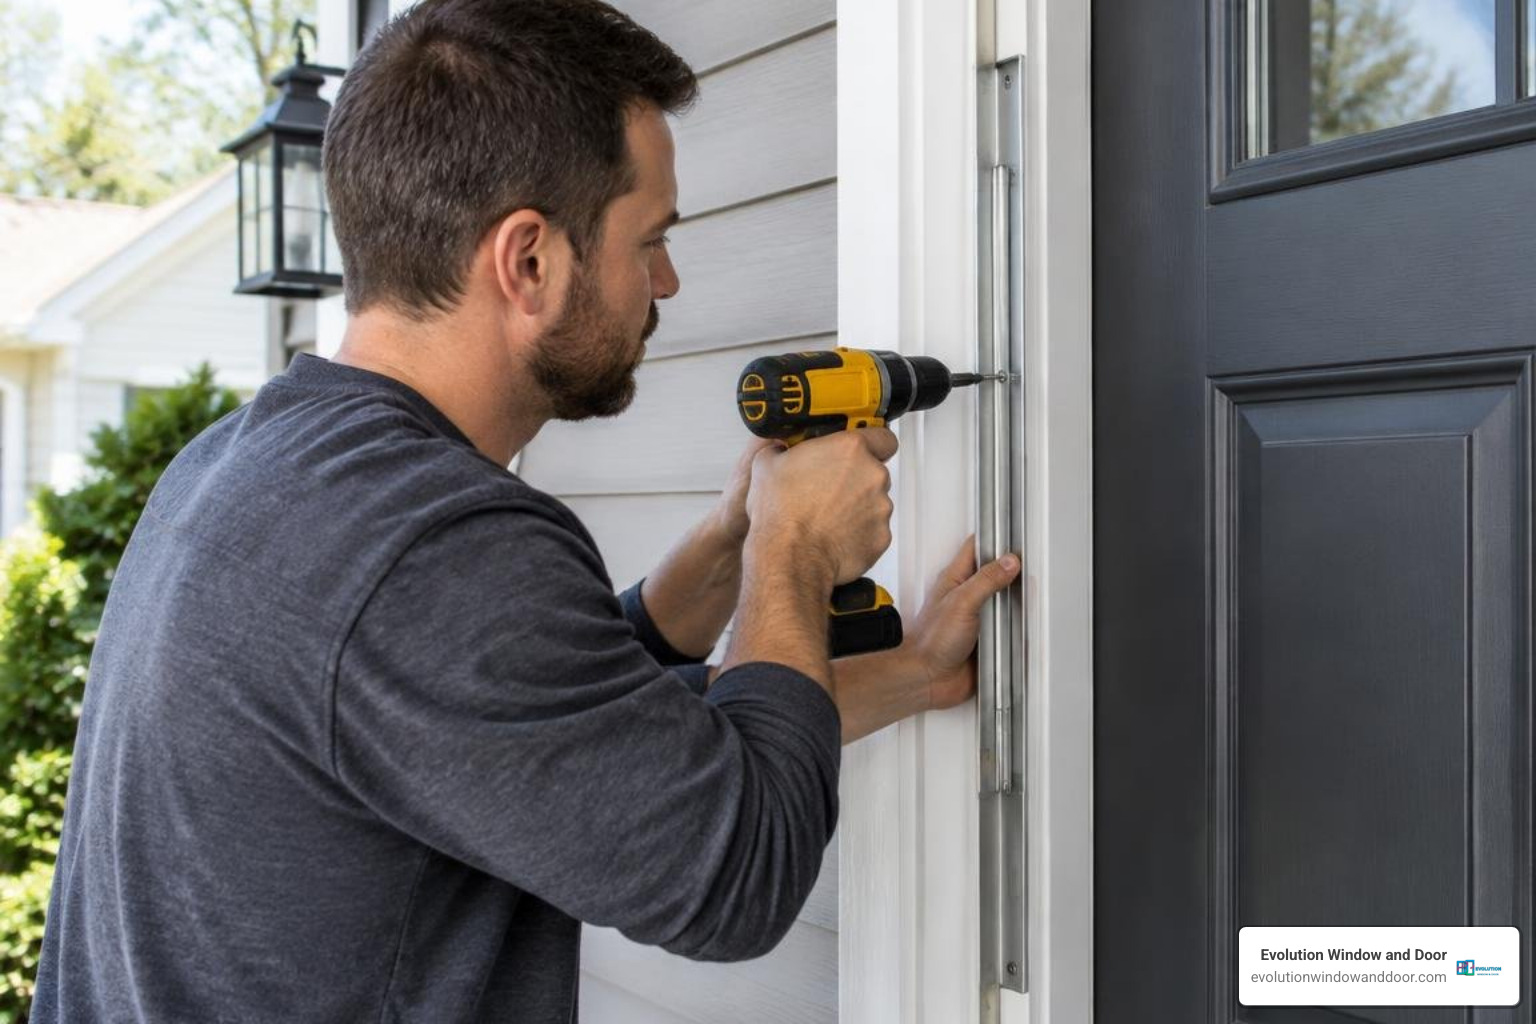
Modern mounting engineering has cut installation times down to roughly 45 minutes to two hours for DIYers. Pre-assembled no-cut mounting rail systems use extendable rail snap channels that eliminate the need to cut down aluminum tracks with a hacksaw.
Required Tools:
- Cordless drill/driver and assorted driver bits
- Tape measure
- 2-foot spirit level
- Non-hardening butyl or putty sealant tape
- Center punch and safety glasses
Step-by-Step Installation:
- Prepare Mounting Surfaces: Clean the exterior trim casing thoroughly. Run a strip of non-hardening sealant putty tape along the mounting face of the top header and side brick mold to block water infiltration behind the aluminum mounting flange.
- Hang the Hinge Rail: Position the pre-assembled storm door into the frame opening on the selected hinge side. Hold the door plumb and drive the manufacturer-provided hex-head mounting screws through the pre-drilled hinge rail holes into the structural door jamb.
- Square the Latch Rail: Close the storm door and ensure a consistent 3/16-inch gap along the top and latch sides. Fasten the top drip cap header rail and the latch-side z-bar securely.
- Install Latches and Closers: Mount the exterior handle set, interior keyed night latch, and pneumatic closer brackets following the template.
- Adjust the Bottom Expander: Loosen the expander retention screws at the bottom inside edge of the door, let the rubber sweep rest gently against the sill threshold, and re-tighten the screws to create a draft-free seal.
When tackling significant structural exterior renovations, always consult your local regional building department. Reviewing documents like the Building Permit and Inspections Report March 2023 helps ensure all home improvement projects satisfy local wind-load compliance and safety codes. If you prefer to bypass the DIY route, you can always rely on seasoned professionals to manage our dedicated services from initial measurements to final trim.
Frequently Asked Questions About 34-Inch Storm Doors
Are 34-inch storm doors typically kept in stock or special order?
Availability depends on your local retail landscape and frame construction type:
- Retail Shelves: While 32-inch and 36-inch options dominate shelf space, standard 34″ x 80″ aluminum and wood-core doors are frequently stocked or available for rapid store transfer through major home supply channels.
- Specialty Orders: Custom finishes, specialty pet-door inserts, or 34″ x 78″ mobile-specific outswing doors are typically special-order items. Lead times range from 15 to 20 business days via LTL freight for specialized wood-core units, up to 4 to 6 weeks for factory-customized aluminum models.
Can a 34-inch storm door be installed on a mobile home?
Yes, but standard 80-inch residential models will not fit manufactured openings without extensive header modifications. Manufactured housing requires dedicated 34″ x 78″ out-swing combo doors equipped with surface-mount exterior flanges, shallow locksets, and thermal-break sills specifically built for 4-inch jamb depths.
How long does it take to install a storm door for DIYers?
Most contemporary storm doors equipped with pre-hung rails, universal hinge mounts, and snap-in screw covers take approximately 45 minutes to 2 hours to install. Basic hand tools (a drill, level, and tape measure) are typically all you need.
Conclusion
A properly fitted 34-inch storm door brings functional beauty, natural light, and customizable ventilation to your home while shielding your primary entrance from driving rain and drafts. Taking three-point width measurements, confirming vertical height clearances, and selecting the right style for your home makes for a straightforward installation and years of dependable use.
At Evolution Window & Door, we provide homeowners across Southwest Florida—including Cape Coral, Fort Myers, Naples, Sanibel, Venice, and Sarasota—with pressure-free guidance, custom exterior entrance options, and impact-resistant installations built for coastal living. Explore our full lineup of doors and professional installation services to find the right fit for your home.


